With solar panel kits now widely available, installing your own system has never been easier. Much like plug-and-play computer accessories, modern solar kits are designed for straightforward setup. As energy prices continue to rise, more people are turning to these DIY solutions to start saving money quickly. This surge in demand has led to record sales of solar kits.
One of the biggest advantages of these kits is that they eliminate the need for professional installers. This not only reduces installation costs but also removes delays caused by limited installer availability.
⚠️ Important Safety Considerations Before DIY Solar Installation
Before diving in, it’s essential to understand the potential risks. Poorly installed solar panels can pose serious electrical, fire, and physical hazards. Fortunately, most reputable manufacturers provide detailed installation instructions to help minimize these risks.
The level of hazard also depends on the installation location. For example:
- Off-grid shed systems generally pose minimal risk.
- Rooftop installations on residential homes, however, carry significantly higher safety concerns—especially regarding electrical work and working at height.
Therefore, you should be technically competent with electrical systems and aware of height safety protocols before attempting any DIY rooftop project.
✅ The Ultimate DIY Solar Panel Installation Checklist
This checklist is divided into three key areas:
- Site Suitability
- PV Kit Readiness
- Installation Best Practices
1️⃣ Solar Suitability Checklist:
- ☀️ Shadow-Free Location:
Choose a spot with no shade between 9 AM and 3 PM, especially during winter when the sun is lower on the horizon. - 🧭 Correct Orientation:
- North of the Equator? Aim your panels south.
- South of the Equator? Aim north.
If exact orientation isn’t possible, southeast or southwest can be alternatives. The further you are from the equator, the more critical correct orientation becomes.
- 📐 Sufficient Tilt Angle:
Adjust the panel’s angle based on your geographic latitude to maximize solar gain. - 🧹 Maintenance Access:
Ensure panels are easily accessible for periodic cleaning (from dust, bird droppings, etc.) and for occasional inspections or repairs. - 📏 Space Availability:
As a rule of thumb:
1 kW system ≈ 4–5 square meters (depending on panel efficiency). - 📜 Planning Permissions:
- Check if local regulations or planning permission is required, especially for installations visible to neighbors (e.g., on balconies or rooftops).
- Smaller, off-grid setups like shed systems may not need permissions.
2️⃣ PV Kit Checklist:
- ✅ Certified & Complete Kit:
Ensure the kit includes all necessary components:
Wiring, connectors (typically MC4 for solar panels), fail-safe fittings, and clear documentation. - ⚡ Proper Electrical Safety:
- For battery systems: A charge controller is essential.
- For grid-tied systems with microinverters: Ensure the system can safely connect to your home grid.
- ➕ Future Expandability:
Microinverter-based systems often allow you to add more panels later without major rewiring. - 🔌 AC & DC Isolators:
On-grid systems should include isolator switches on both the DC side (panels to inverter) and AC side (inverter to grid connection) for safe maintenance and compliance. - 🌎 Grounding/Earthing Compliance:
Example: In the UK, earthing is mandatory under the IET Code of Practice for Grid-Connected Solar PV Systems. - 🛠️ Mounting Hardware:
Confirm that the kit includes suitable brackets or stands to mount your panels at the correct angle for your location. - 🛡️ Warranty Coverage:
- Panels typically come with 10+ year warranties.
- Inverters and microinverters may have shorter warranty periods—check with your supplier.
3️⃣ Installation Best Practices:
- 📐 Correct Panel Tilt:
Use the mounting brackets to set your panels at the right angle for your latitude. A thumbrule for best angle is: Optimal angle = 0.9 * lattitude of location. - 🔩 Avoid Flush Mounting:
Always leave space between the panel and the mounting surface to allow for airflow and cooling. - 🌬️ Inverter Ventilation:
Place the inverter in a well-ventilated area to prevent overheating—ensure unobstructed airflow.
✅ Final Tip:
This article summarizes key DIY solar panel installation considerations. However, each site and kit may present unique requirements not covered here. Always read the manufacturer’s installation manual and consult a qualified electrician if unsure.
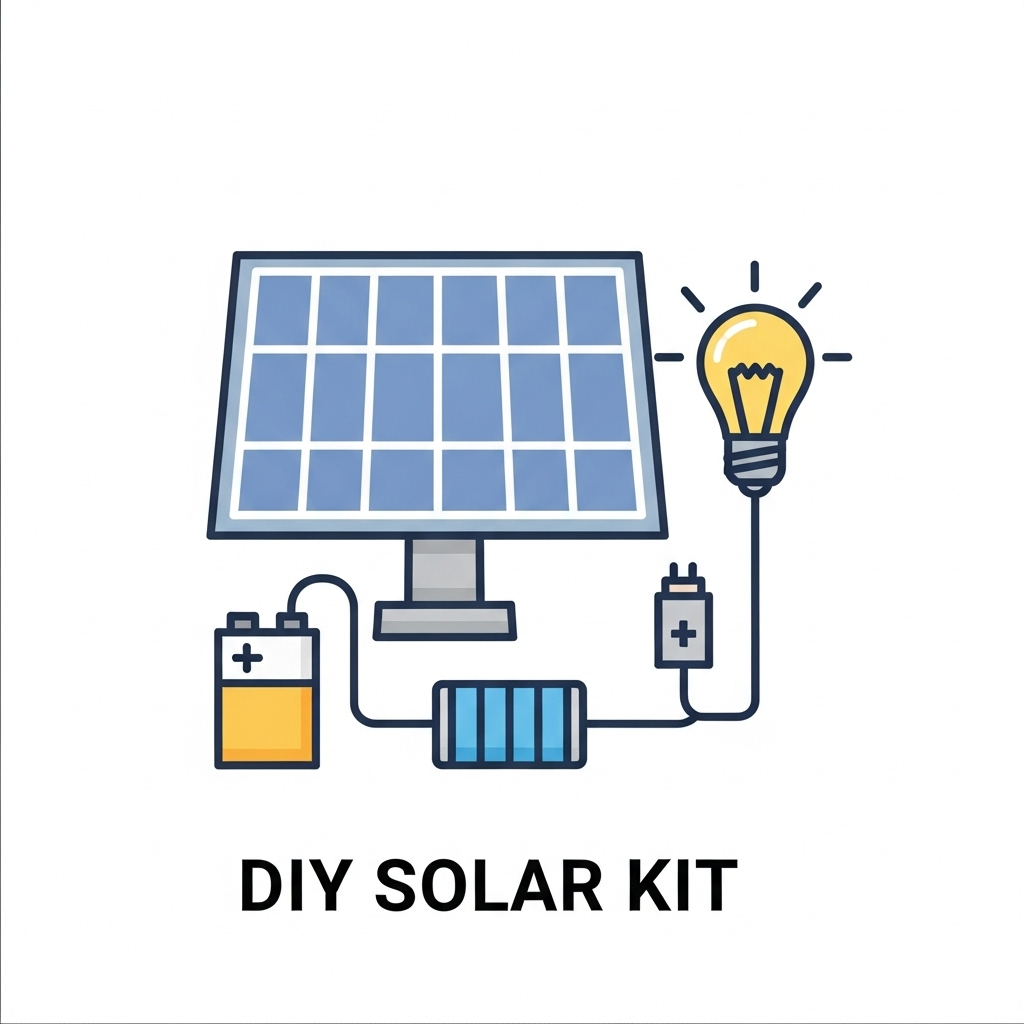
For a quick overview, see the accompanying infographic.
